






Zach Matthews
Forum Replies Created
-
AuthorPosts
-
Zach Matthews
The Itinerant AnglerHey Paul –
We’ve seen that and have actually been in touch with that guy.
The Itinerant AnglerRalph –
A wise idea, but unfortunately those cupholders will have to sit over a dried-in space.
The Itinerant AnglerAndrew –
Looks like the OD is right at the 3″ holesaw size?
The Itinerant AnglerAndrew –
Does that paint require a primer? I was thinking; if you sanded, then primed, the interior of the boat, it would probably pull everything up to a fairly similar degree of texture, including the existing sections that didn’t get re-glassed.
The Itinerant AnglerWill –
I think you’re asking a different question than John answered.
The Itinerant Anglerbump
The Itinerant AnglerLike it.
The Itinerant AnglerDavid –
Very.
The Itinerant AnglerOlle –
If you’ll run a search with your question here, I am pretty sure there’s a thread where we’ve discussed this extensively before.
The Itinerant AnglerGreat post Cameron.
Zach
The Itinerant AnglerOk boys, it was a rainy Saturday here in Atlanta, so we got back to work. We started out by cleaning out Andrew’s man cave (which he calls a ‘shed’ but I definitely believe is at least a ‘shop.’ Apparently building skyscrapers for a living tends to make one keep one’s nose in the air when it comes to workspaces).
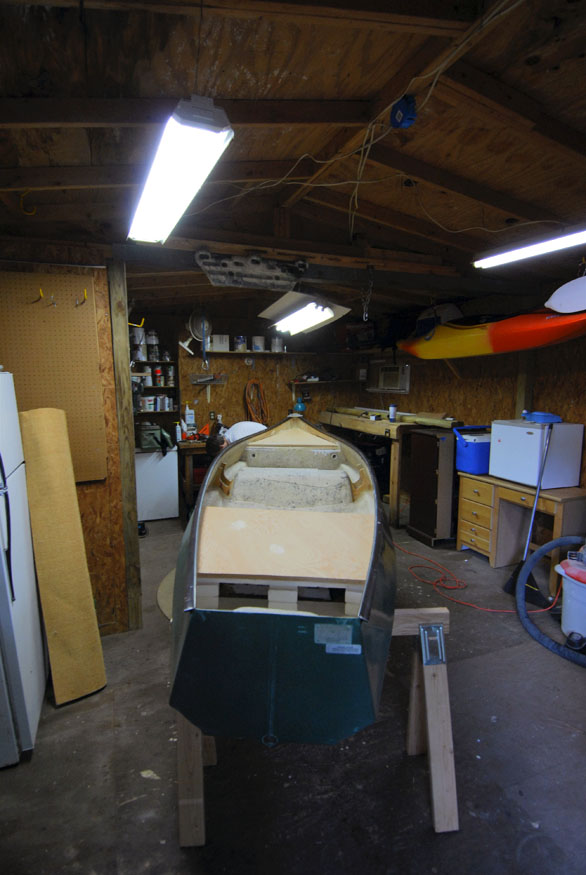
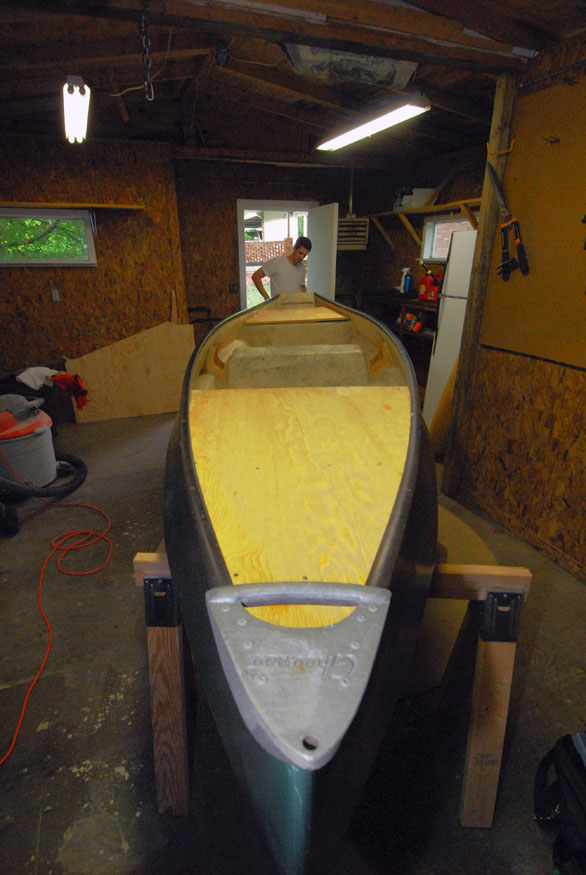
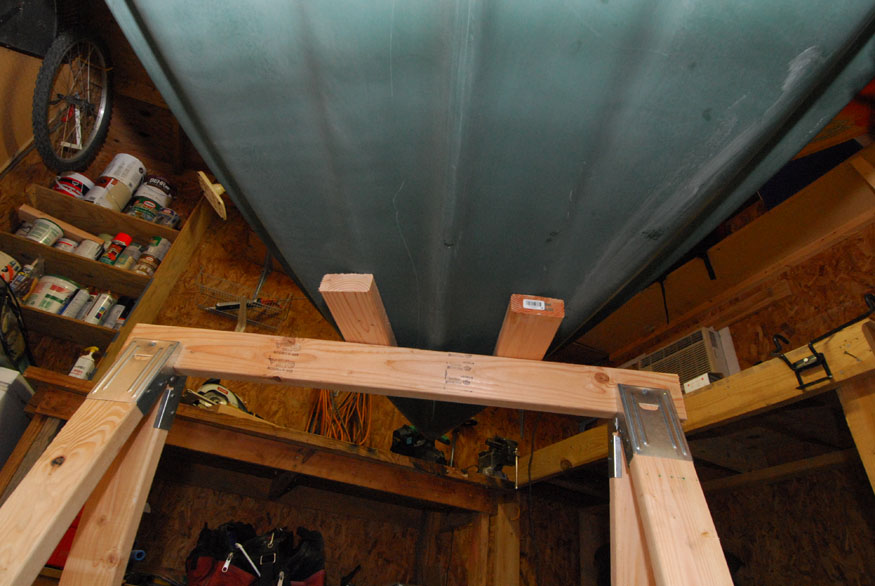
As you’ll recall from where we left off, Andrew had successfully procured some marine plywood, and had cut it using our earlier OSB decks as a template. Thus, the boat had considerably more structural strength (and was very pretty, for a redneck cluster job).
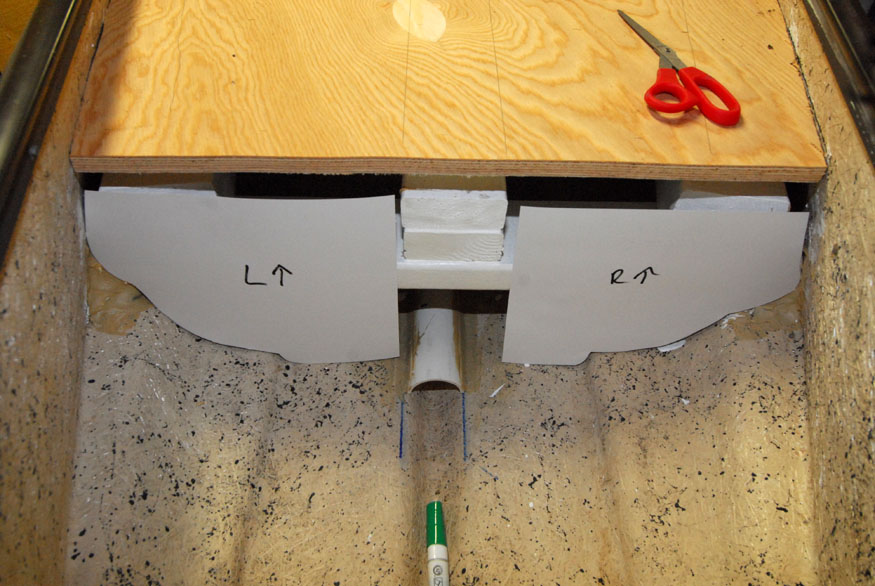
First things first, we had to get that rear deck panel in place to waterproof the rear deck. Andrew left it to me to template this thing. There’s no way to fit a solid piece in due to the shape of the hull (narrower at the top than the bottom, no room to go in diagonally), so we split the template in halves.
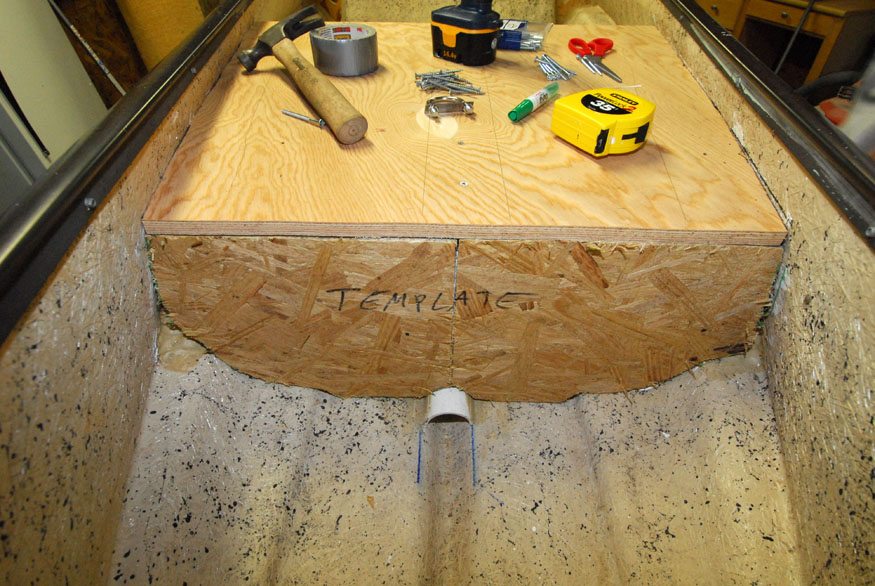
We then carved the rear deck template out of leftover OSB before finally cutting it in the marine plywood (not pictured).
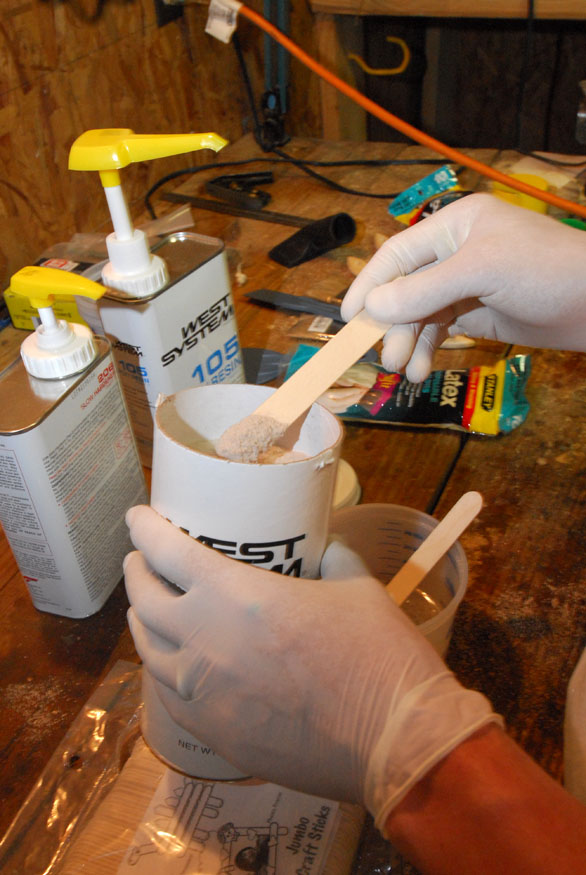
Next up, Andrew mixed a batch of marine epoxy up (the same stuff we used on my canoe once the Kevlar was bonded). He then added this filler material to make ‘fillets’ [sic?], which are essentially caulked beveled edges for the corners of where the glass will lay up. This was thanks to Andrew’s experience trying to glass the box at the suggestion of someone here on the board.

Andrew and I both took an active hand in scraping the fillets in with tongue depressers; ultimately not the easiest job (and messy – we went through a lot of latex gloves today).
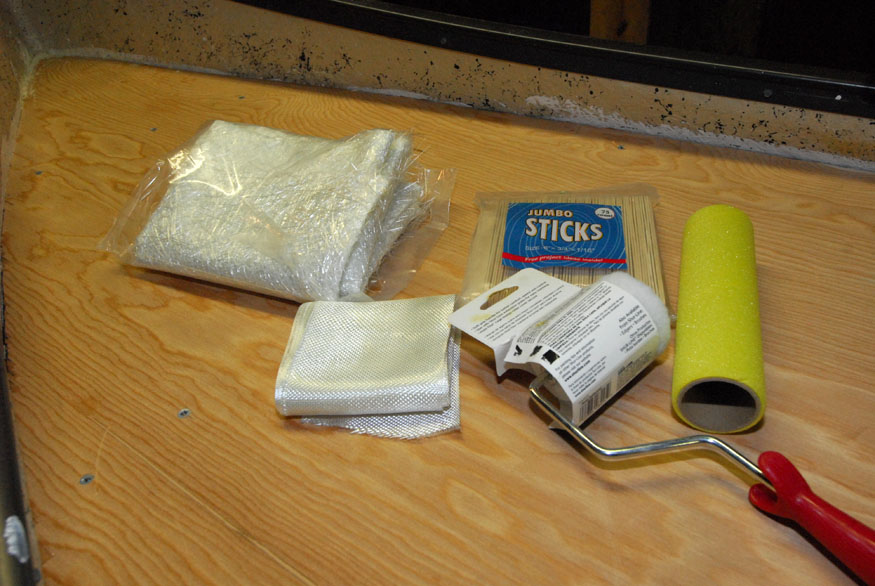
Here’s the stuff you need to glass in a boat (not pictured: all the other stuff you need to get to this point.)
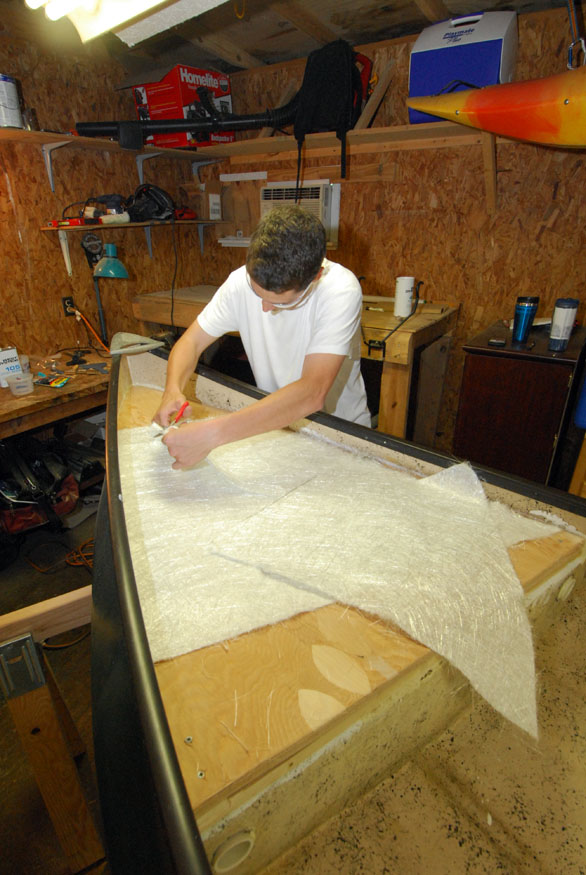
First you have to make sure you have enough and have it cut out properly. Fiberglass cloth is fairly expensive at $16 a sheet, and it’s square obviously, so we made four cuts out of the sheet to reassemble it into the shape of the boat deck. There was almost none left of that sheet (thus, we had to make a run to West Marine for a resupply).
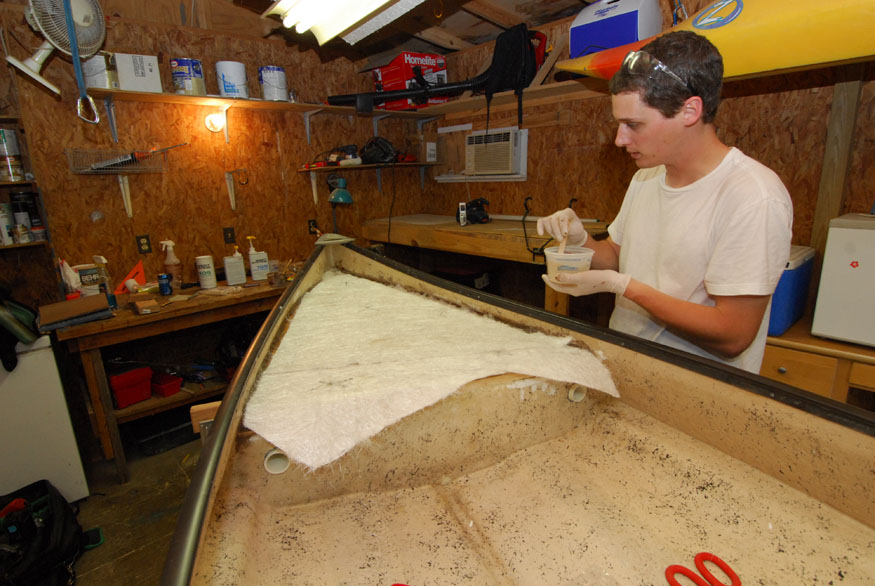
What you do first is lay fiberglass tape all along the edges of the fillets (not pictured because my hands were covered in epoxy and latex gloves). Then, once the edges are securely taped, you can lay the chopped mat over them for final application. We found it best to lay a fairly wet layer of epoxy under the mat, then another layer on top; when it wets out it goes clear-ish.
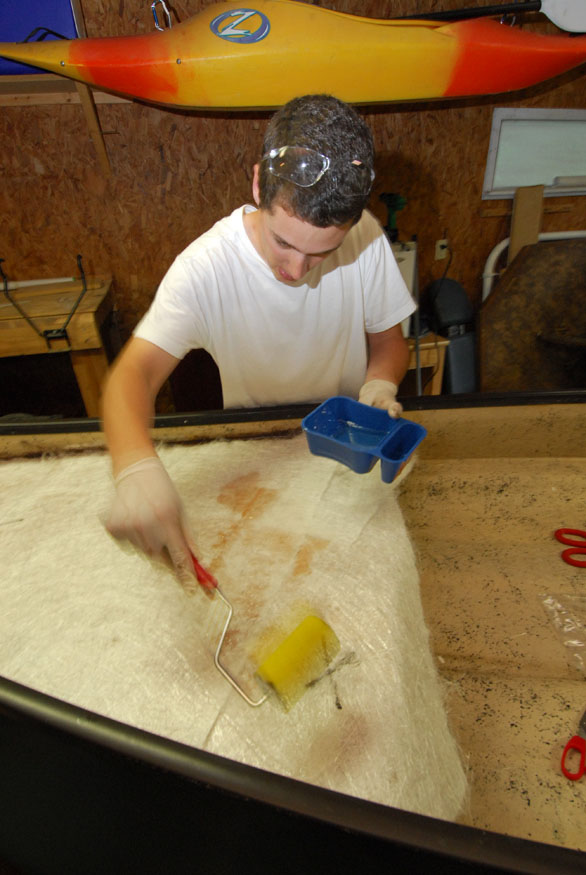
Once it’s all in place and stuck down, you basically just roll epoxy all over it and squish all the bubbles out. Of course, that’s kind of like saying you build a car by starting with some metal, but you get the idea.
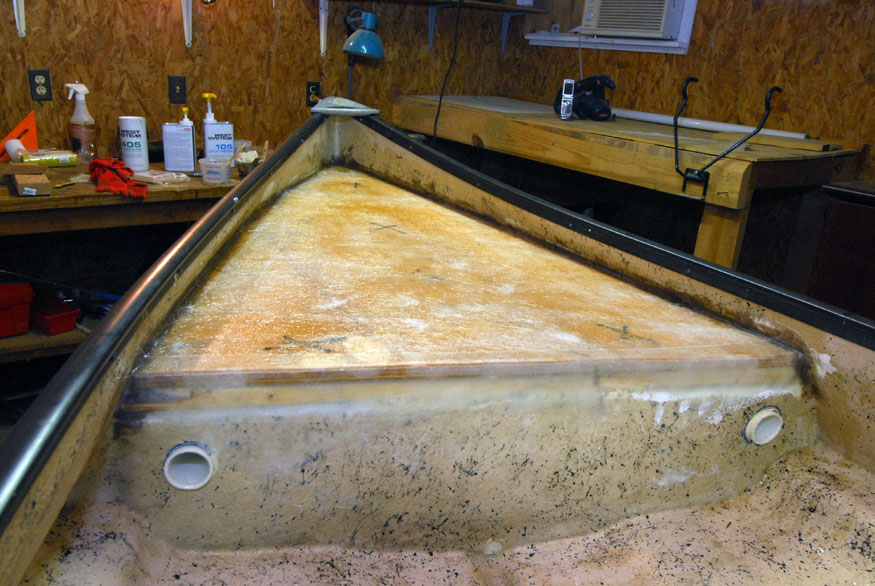
The rear deck was essentially the same animal, only with a lot more filleting along the rear panel we put in. We found that anything on the largish size void-wise would tend to have the epoxy run out of it. However, if you work some of the loose chopped mat fiberglass into the fillet compound, you can get it to lock in just fine.

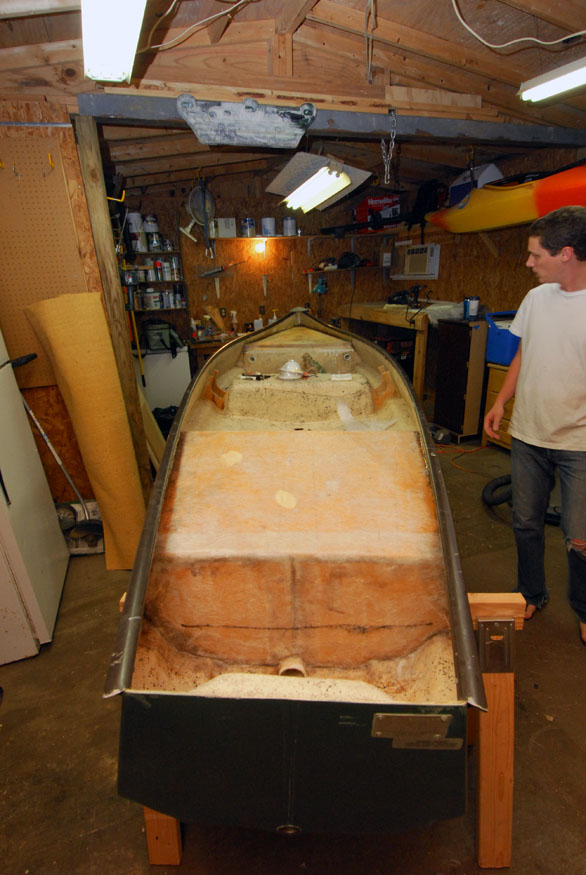
It’s not the prettiest yet, of course, because it has to cure. Once cured, we’ll sand it, then paint it; it’ll look like a real boat once that paint goes down. With the exception of a little fine work around the front rod holders and the two buttresses we made to replace the metal supports off the central seat, the glass is in.
Beer Thirty.
Zach
The Itinerant AnglerJust don’t anchor up in current and you’ll be fine.
Zach
The Itinerant AnglerHey Matt –
Thanks, I’ve used that plug in before.
The Itinerant AnglerThere’s also the Flint.
The Itinerant AnglerIf you need affidavits prepped, I can do that, and I might be able to sweet talk one of the ladies here into coming to get it notarized (I am not a notary myself but most of our staff is).
The Itinerant AnglerSure can, Bob.
The Itinerant AnglerActually, that’s nice to know, Bob.
The Itinerant AnglerSimon.
The Itinerant AnglerAlso, how much weight does it add?
The Itinerant AnglerPrice is most likely due to radio welding every seam.
-
AuthorPosts