






Neal Osborn

Forum Replies Created
-
AuthorPosts
-
Neal Osborn
MemberI love following this series John.
MemberThat’s looking good Mike. You are certainly talking the talk and walking the walk.
One little nit picky thing – your copyright and logo watermarks are bit bold and bright. They both grabbed my attention before the fly. You might want to decrease their size or decrease the opacity.
MemberBill –
I am loving this series. Keep up the great posts from Korea. Love the pictures too – helps us to see what you are doing.
BTW, that is a nice looking reel in the second picture. Who makes that?
Also, is it possible to send us the name or coordinates of the river you are fishing?
MemberMike – a few additional comments and examples.
Shooting flies in the vise is difficult. Lots of technical stuff going on while at the same time trying to get a simple clean shot of the subject to either teach others or to show minute detail.
Background – there are two solutions. The simple method is to forget it altogether and just shoot the fly to educate others or create discussion. The more difficult method is to incorporate a background but again you have to deal with flash and shadows. If you are just starting out this can get frustrating in a hurry.
You can focus in on the fly and take pictures of tying steps – instructional, not artsy.
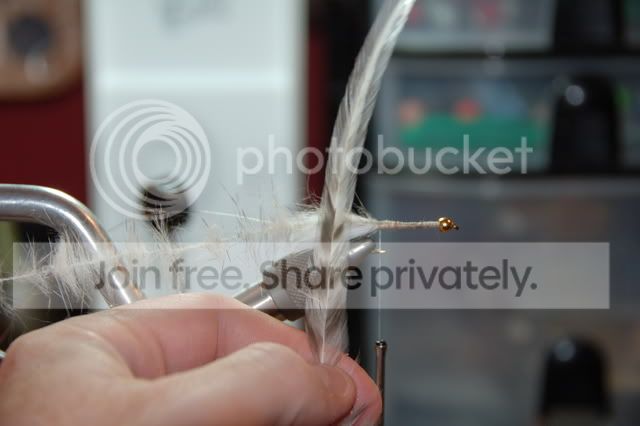
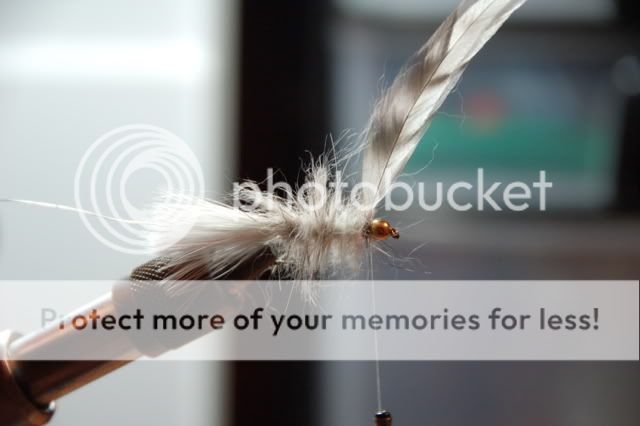
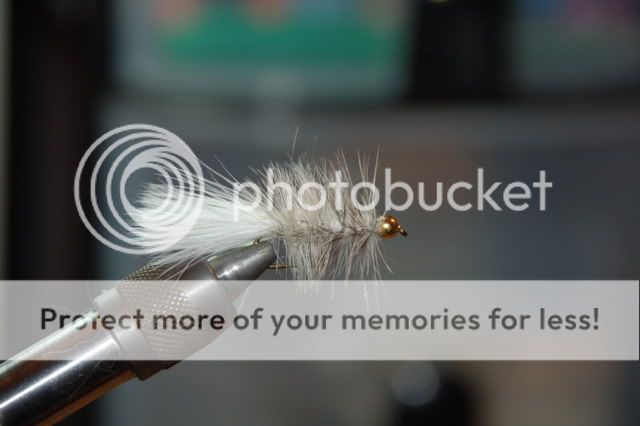
Or you can add a background. Here are a few shots with a simple background about 12″ from the fly. Notice the shadows and halos, not great shots but they get the job done.
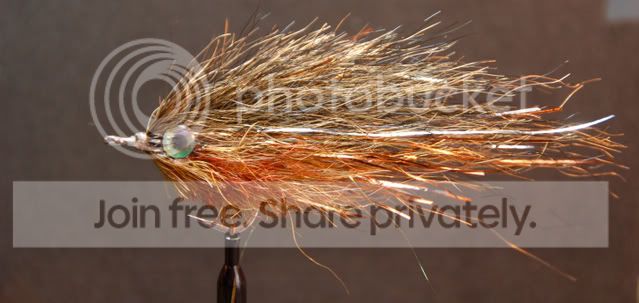
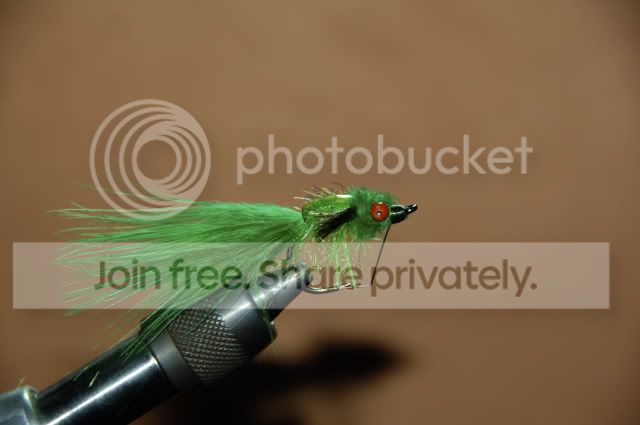
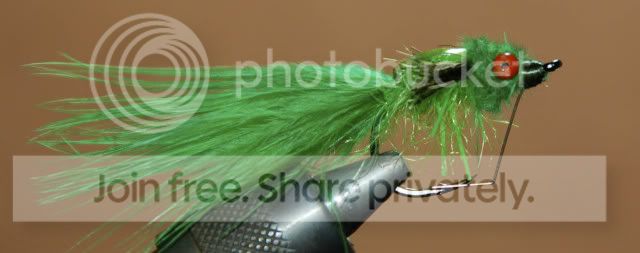
Then you can direct your flash to cast the shadow below the subject and then crop out the subject. However, the problem with cropping is that you end up with different dimensions on your final pictures and they lack uniformity. Notice how much smaller this second picture is compared to the one above.
Be careful when using a hot lamp! It is tempting to put the desk lamp on the subject to light up the fly but you will likely get a big bright glare as shown below.
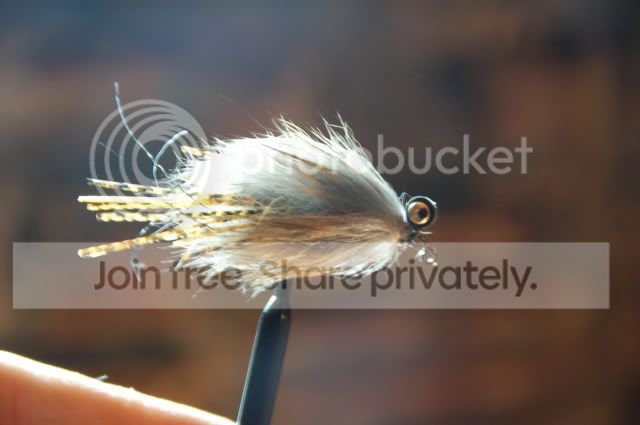
Instead, stick with the flash, it will work with your camera and create a more natural exposure as shown below.
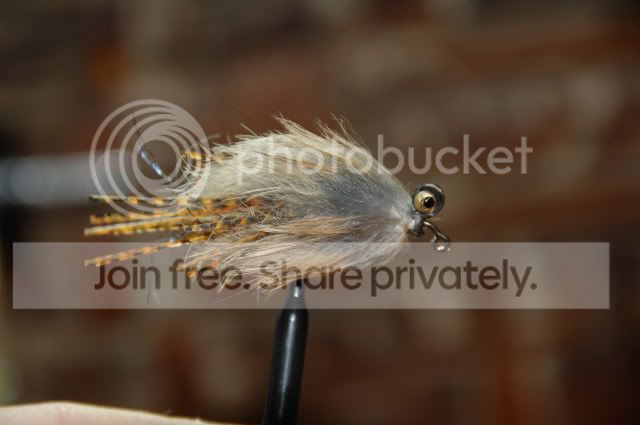
Here is a shot of large fly with a hot lamp and brown background and then the same shot using flash and a black background. Little technical steps like this can greatly improve your shots.
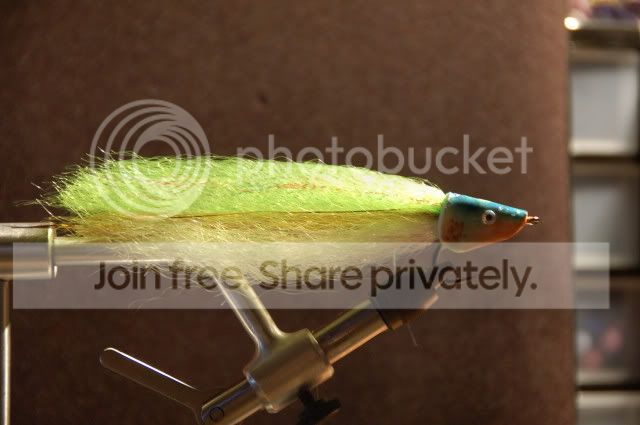
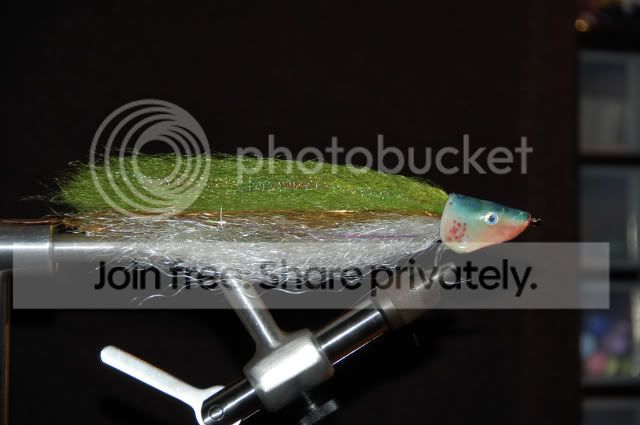
The above pictures all employ on-camera flash and auto settings. Here is a fly with a blue background, the difference here is that I used flash off-camera and directed a dedicated flash toward the background. Thus the nice blue background shows up well with no shadows. If you don’t have the capability of off-camera flash then just shine a hot light on the background.
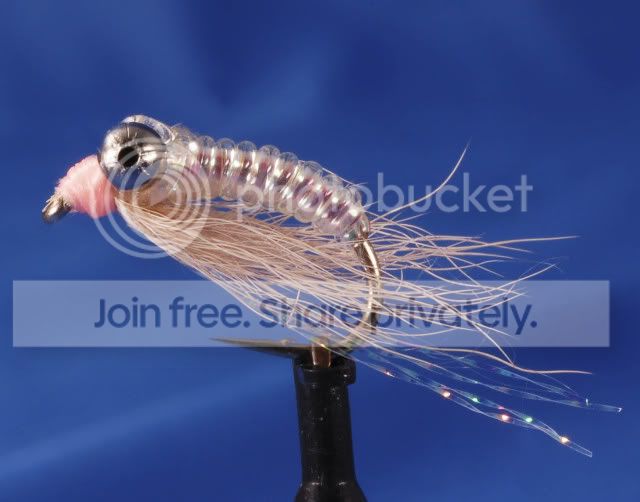
To get artsy shots you need creative lighting and off-camera flash, period. However, such technology requires an investment and a whole new learning curve. The players include a good DLSR camera, a macro lens, off-camera slave flash, snoots, reflectors, etc.
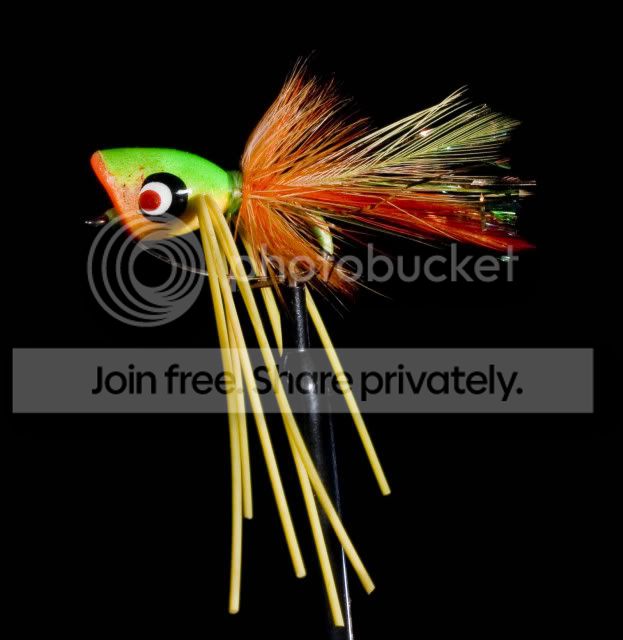
Here you can see a direct beam on the head of the black fly. The following picture is the final shot and you notice the head is lit up and the green background (which is 6 feet away) is separately lit by a second flash.
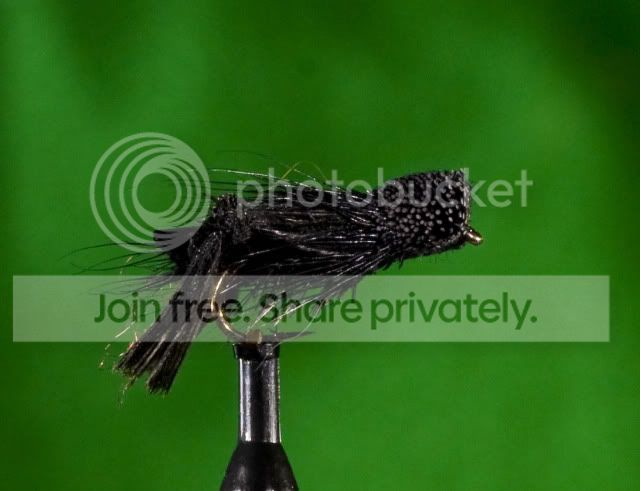
Putting it all together. Like the Master Card commercials say at the end . . . Priceless. (note: took me about two years to be able to get shots like this; still learning).
 Member
Jarrod, as I stated above, I got to fish the 9′ 4wt Helios the other day. The clear advantage of the rod was the weight, or lack thereof. I think the clear advantage of the 10′ 4wt would be a practically weightless rod for day-long high-sticking or wet fly fishing with soft hackles. I mentioned that I had previously used a 10′ 5wt TFO but after 2-to-3 hours of mending the rod felt like a heavy broom stick. For the technical aspects of soft hackles or czech-nymphing, constant mending is required and that is where light-weight 10 footers come in handy. Great rod, tough price.
BTW, has everyone spotted the trend of 10′ rods lately? After waiting 2 years for a decent 10′ stick it seems like all the rod manufacturers are suddenly going European.
MemberI once saw a video on the Australian wine business and they highlighted the growing problem with the bats.
MemberH –
You are wiser than your years. Dad has taught you well. I would love to see pictures of you landing a big ol snook on a ten weight rod.
Brett –
Aim in. The helios 10wt is a perfect casting machine. BTW I fished today and a guy let me cast his 4wt Helios – Wow that was fun. It was the 9 ft.
MemberAlso, I too have only a handful of pictures of myself. My wife is actually a good photographer and has her own camera but she hates to carry it around. Furthermore, she hates to have her own picture taken. Thus, we have only a few pictures of ourselves in the albums.
Here is a rare shot of me in full hairline recession glory. Taken candidly by my wife two years ago.
MemberJohn –
I just got off the phone with brother (he went deer hunting today, and yesterday, and last weekend and . . . ).
MemberKendal –
Thanks for sharing those great pictures. I love the colors from the early morning shots.
MemberRegan – that is the rod I have been watching.
MemberWow, a Helios 10′ 4wt. That one came in under the radar. I have been on the watch for a 10′ 4wt rod for the past 2 years since that is considered the ideal soft hackle wet fly stick. When I learned the wf swing it was on a 10′ 5wt TFO and although the length was perfect the weight was a bit heavy. So I’ve had my eye on the Scott 10′ 4wt but it was about $550 and that was a bit high for a niche rod. Thomas and Thomas also makes (made) a 10′ 4wt gem but it was about $650. I’m sure the Helios 10′ 4wt will be an amazing rod and probably the best wet fly setup available. However, the price of $755 is certainly a punch.
I usually avoid discussing equipment prices, but for this particular rod in a 10′ 4wt it is an important consideration. It is also interesting to see Orvis coming out with this setup because earlier this year I had a lengthy discussion with them online about my desire for “any” 10′ 4wt for fishing soft hackles. I honestly thought they might consider it but imagined it would be in the T3 or even Zero G category and likely comparable in price to the Scott. This is certainly interesting and I will no doubt try it out soon.
The 10′ length in general is also a blast to fish from a float tube on still water. The 4wt would be a good bluegill stick.
MemberDubbing loops are to fly tying what kneading is to bread making.
MemberWelcome Josh.
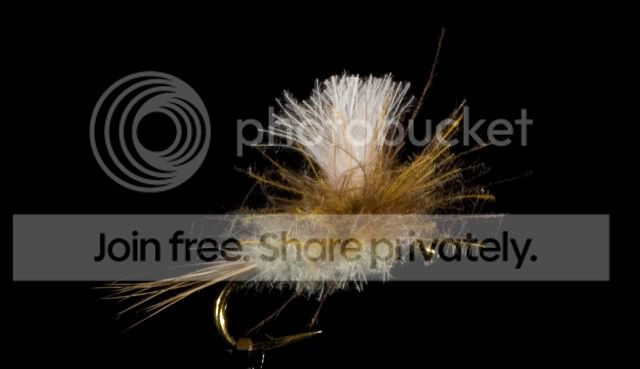
MemberHere is close-up shot with better detail.
 Member
Excellent stuff Will.
MemberZach –
To compliment your great article, here is a video I found thanks to a tip from Will Milne. This is a French site but the detail is amazing. There is a video from Cortland about the process of making a fly line. I found it very informative. A bit dated, but cool nonetheless.
Go to this link http://www.jpdessaigne.com/Materiel/Sommaire_materiel.htm#
Then choose La réalisation d’une soie en vidéo
Also, go to the upper left link for pictures of the Cortland factory.
P.S. – the link on Whiting Farms is also great. Very rare footage indeed since Whiting does not allow tours. And that Chuck Norris genre picture of John Whiting is classic (top left)!
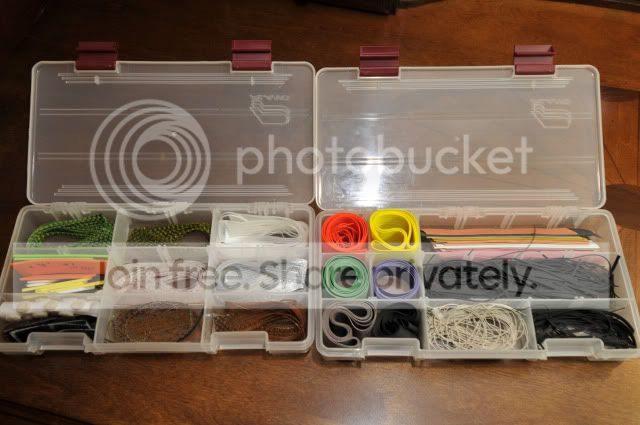
MemberThe best scheme for me is to batch like things together. Dry fly feathers together, beads together, rubber legs together, chenille together, streamer feathers together, tubing together, etc.
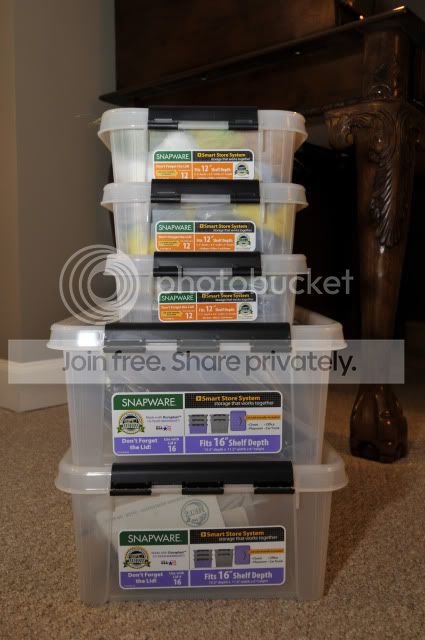
Like Dave said above, snap boxes are perfect. The best boxes IMHO are the Snapware boxes http://www.snapware.com/maindept.asp?dept_id=10000. I get them at OfficeMax for $4.99 small and $8.99 large. They are perfect for fly tying because they have a latch on the sides that not only secures your stuff inside but also act like a compression bag. For example you can put a bunch of hair or craft fur in a box and cram it in then the lid snaps shut. The other boxes I’ve tried don’t work because the lids just pop open (especially when traveling).
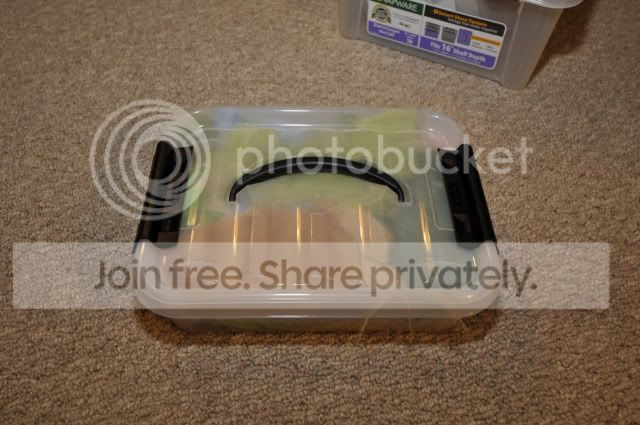
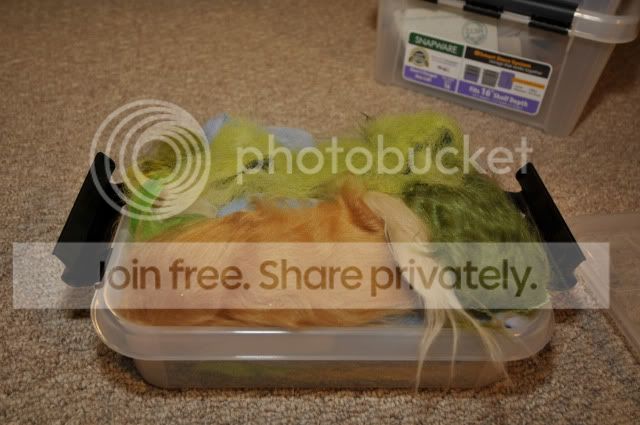
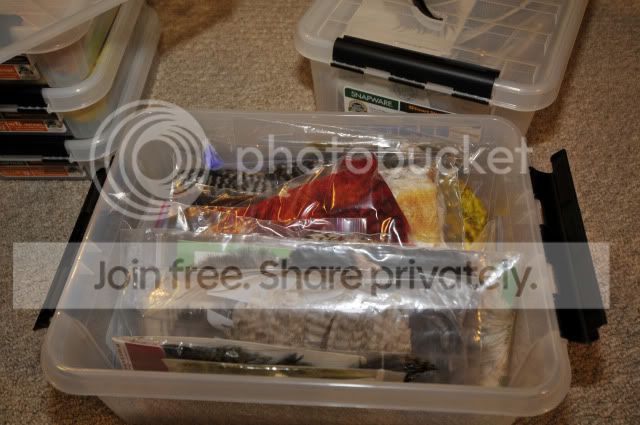
I also have a few junk boxes around for bigger stuff like wig hair and buck tail
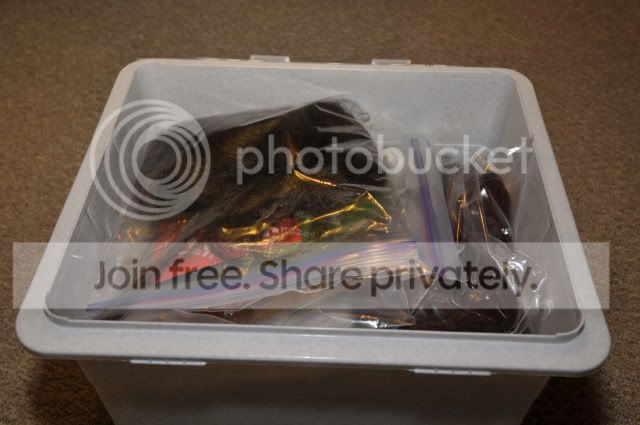
Then there are the bastard step-children! The stuff that doesn’t really fit in a specific category. I just put em in bags but I make sure each bag has a theme (angel hair in one bag, toys from the Dollar Store in another, etc.).
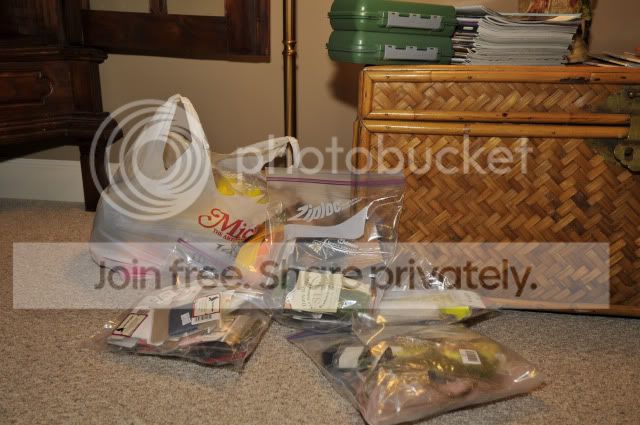
Hooks – I have two simple work boxes and I put my hooks in smaller containers within the boxes. A while ago I gave up the product packaging and simply made my own system. After a while I just learned what hooks I use and can recognize them by site.
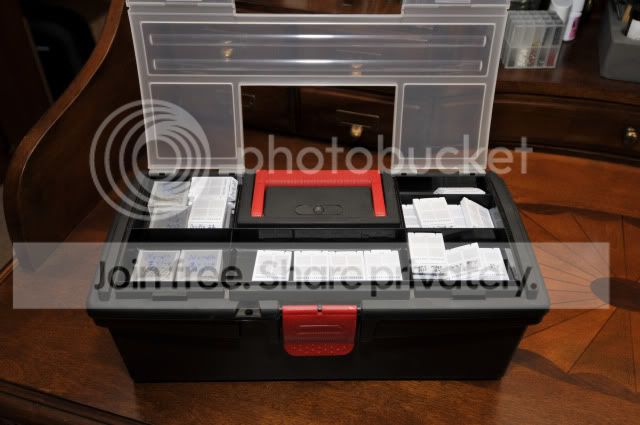
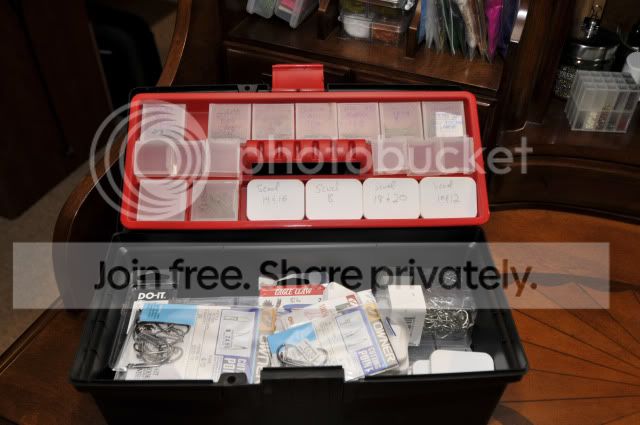
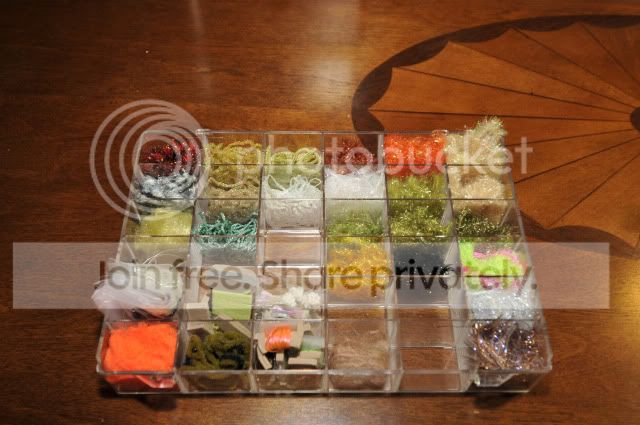
I now throw away the packaging on chenile and Estaz and ribbing, etc. I got this little jewelry container for $1 and it works great. I can see everything at once!
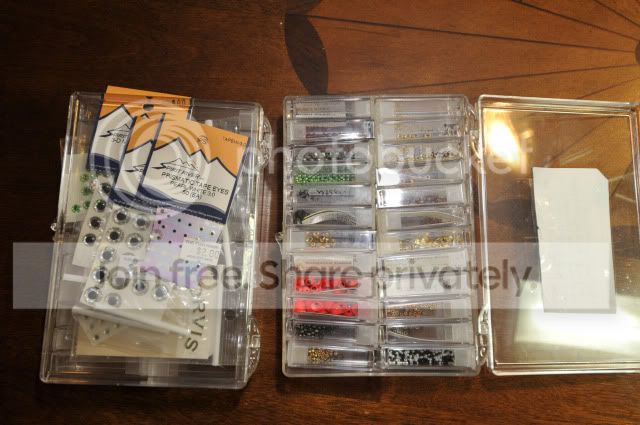
Beads and eyes all go in one box – you can get these tic-tac boxes at Hobby Lobby for $3.99.
Rubber legs and rubber materials – Plano boxes, enough said. Get em at Walmart for $2.99 a piece.
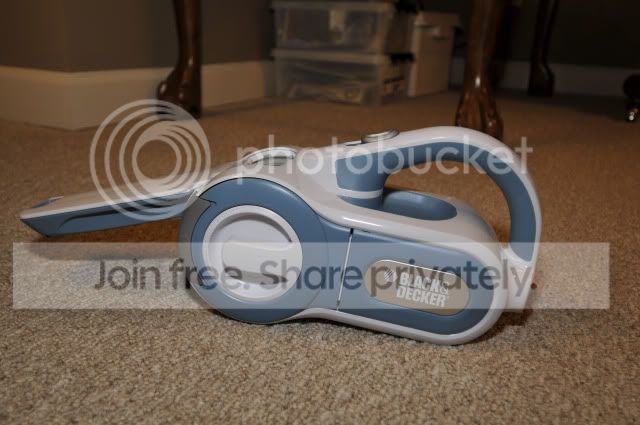
DUSTBUSTER – THE MOST IMPORTANT gadget I own. It took me a long time to figure out the necessity of this one but since I got it my wife has been very pleased. I just do my tying thing and make a big old mess to my heart’s content and then suck it all up and go to bed. Easy. I no longer have glitter and chenille on my clothes (or in the bed, or on the dog, or in my coffee).
 Member
Neal- good looking stuff:)) Photos and tying. If you are into dubbing loop work this fellow is worth a look. Some wonderfull concepts that can be played with.
Will
Thanks Will – I probably won’t sleep now because I will be reading the great stuff on that site 😀 That is right up my alley.
The macro fly pictures are amazing – under the link Galleries Photos. Did you learn about this site from your research on the macro bug photos you’ve been doing? Looks like some of those images are stacked macro? Seriously, between your work and that site I realize the long climb needed to reach the top. Like Steve Martin said, “I found my special purpose.”
MemberDarrin –
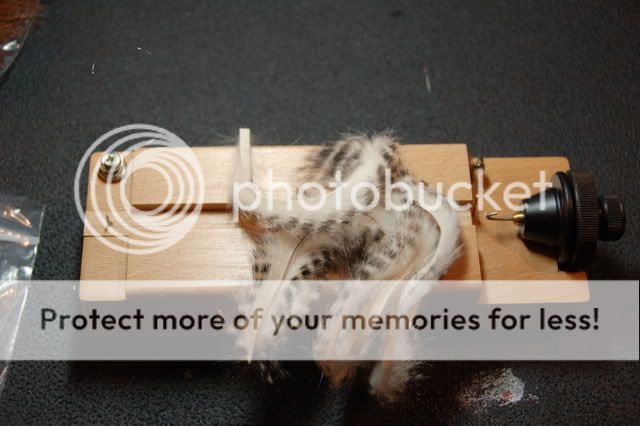
I really like the MP Magic Tool set. As you may know I am fond of dubbing loops and brushes in general. The use of CDC as a hackle substitute was a natural progression. I had tried using CDC on the dubbing bench (pictured below) but found that the willowy fibers tended to blow off and scatter and I couldn’t get a nice tight dub with the colors nicely blended. But what Mark Petitjean has done is revolutionary in many ways. His “process” all comes together in one package with the magic tool and you can simply “stack” CDC together to get a wonderful natural blend of colors. Furthermore, his idea of splitting the thread to introduce the fibers with the bulldog clamp works flawlessly. I have tied all the basic flies already and they work well (e.g. the basic caddis, mayfly, emerger, streamer). My goal with the parachute Adams was to see what else could be done with this technique.
Here are some Youtube videos of Mark Petitjean using the magic tool set.
http://www.youtube.com/watch?v=3Rb3-hR8PpQ
http://www.youtube.com/watch?v=DHAqFuevQ_Y
http://www.youtube.com/watch?v=Hu49CS5VdV4
This is my standard dubbing bench. In my experience it is nearly impossible to efficiently add CDC to this setup. You can always tie in a CDC feather and palmar it forward, but that still doesn’t solve the problem of how to make a bulky dubbing brush with the material itself. That’s the advantage of the magic tool. If you don’t need such a brush or if you aren’t going to tie with a lot of CDC then you probably don’t need the magic tool.
-
AuthorPosts