


Bulletheads
- This topic has 3 replies, 4 voices, and was last updated Aug 3, 2012 at 9:48 pm by
Casey DeGiovanni.
-
AuthorPosts
-
Aug 2, 2012 at 2:49 pm #6788
Scott P.
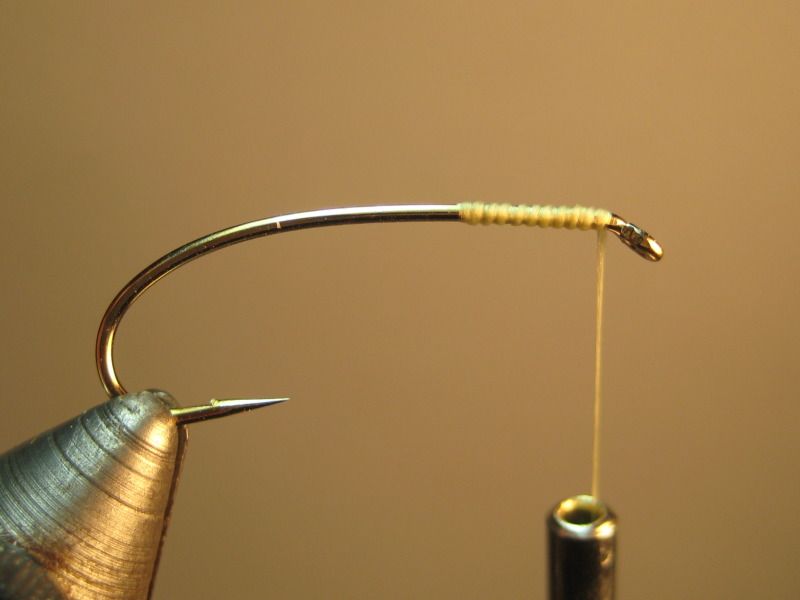
MemberMost of the instructions I’ve seen for bullet-head flies start with the body and work towards the front. I’ve always had problems attaching the hair for the head and getting it to spin properly with the stub ends of the body and wing getting in the way, so I decided to reverse the process and tie the hair for head in first, letting it protrude out over the front of the fly while I tie in the rest:
a little thread to get things started (UTC 140 works great)
a good hunk of hair (I like elk for the head but deer’s fine, too) about shank length; you really want to use more hair than you think you need, which is somewhat counter-intuitive
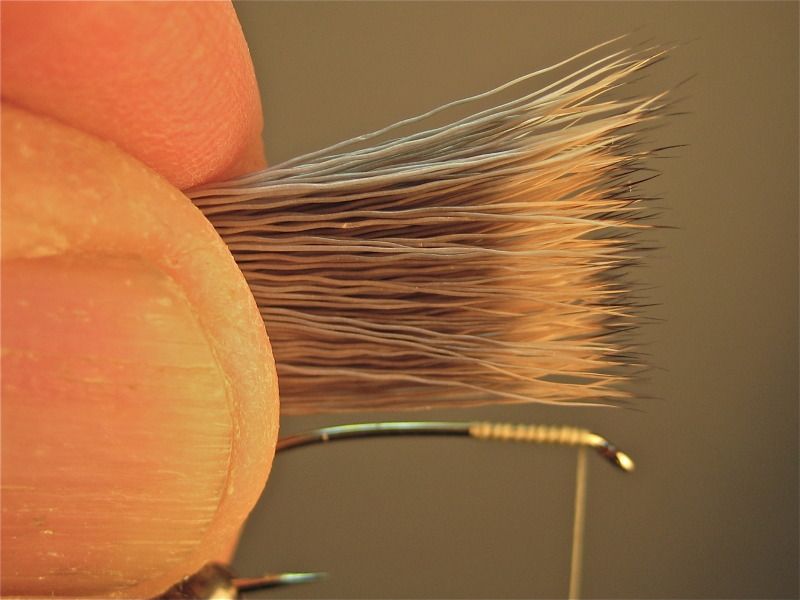
trim the butts, a couple soft loops and then pull firmly, letting the hair spin around the shank
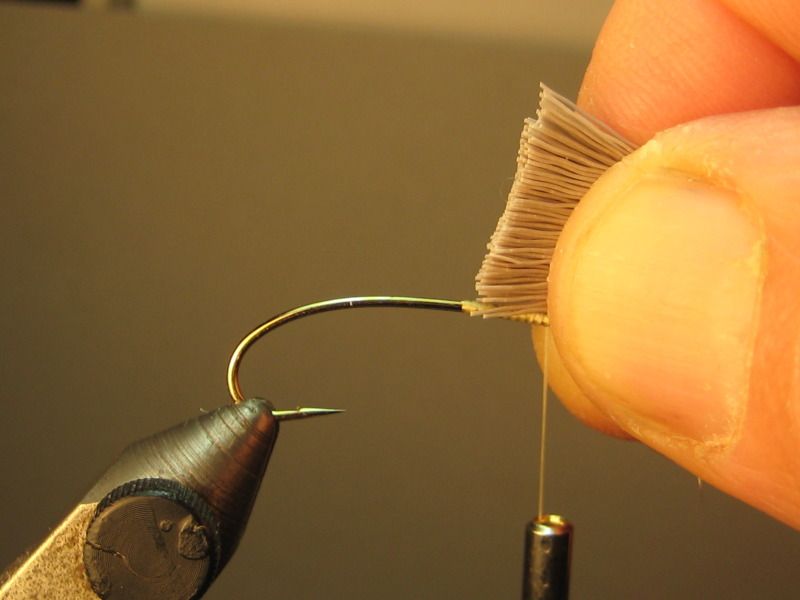
like so
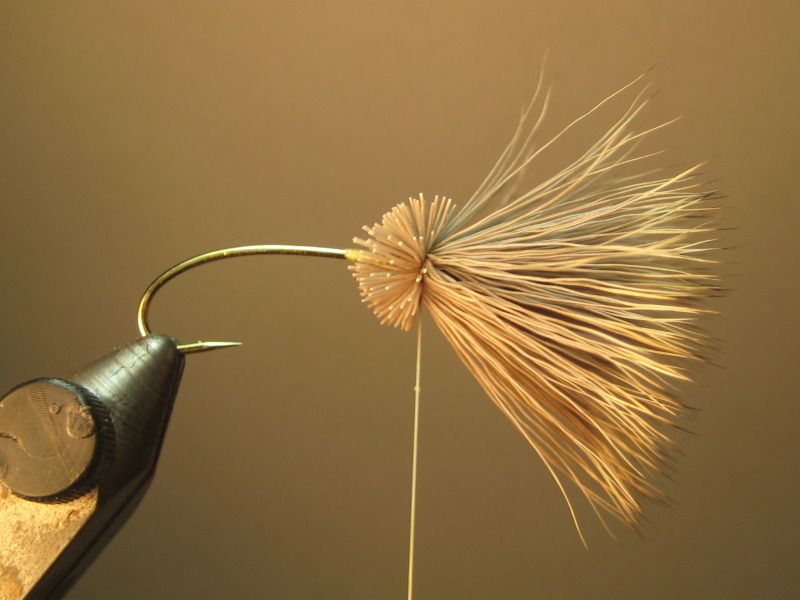
trim the butts (optional, but makes for a neater fly)

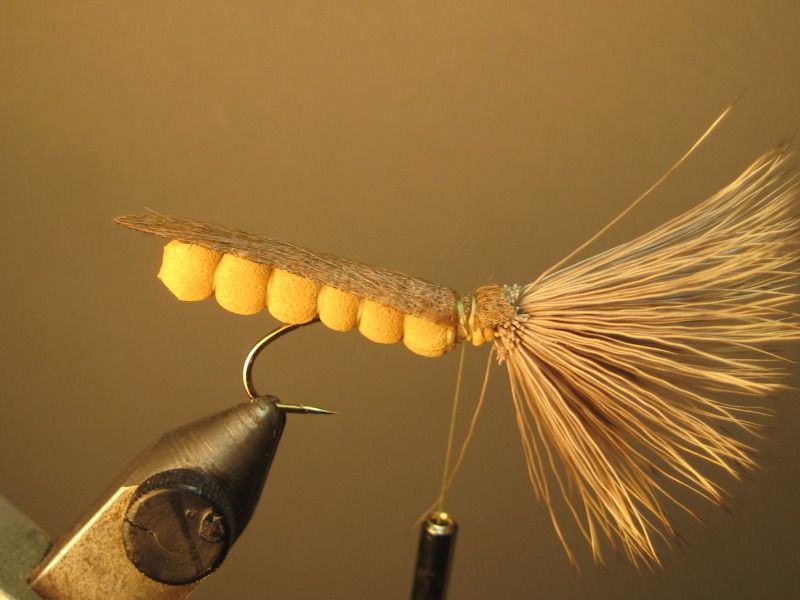
The hair doesn’t get in my way and I find it provides a nice base to attach the body and wing.

a drop of Crazy Glue helps secure everything here
add underwing (landscape fabric)
add overwing

push the head hair back over the fly; a finger works fine (guess those bullet-head tools would, too). Cinch it all down with a few firm wraps, add legs, a little Sally Hansen, trim out the bottom and Bob’s your uncle
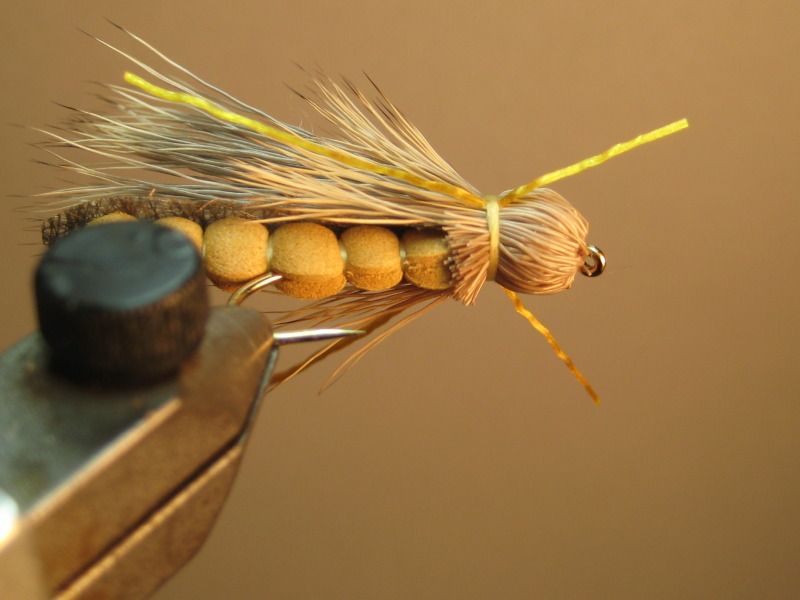
They’re a little putzy at first (mostly proportions, amounts and thread tension), but not hard and I got the hang of it after a few flies. Cool thing about the extended foam bodies is they’re simple, you can make a bunch up ahead of time, bag them up and use as needed.
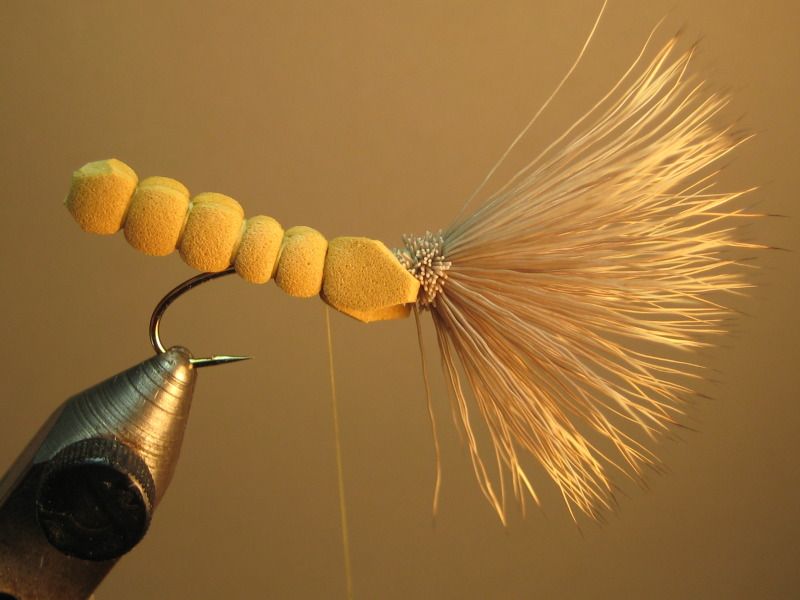
Here’s the back half:
Charlie Craven has a great tutorial http://www.charliesflyboxinc.com/flybox/details.cfm?parentID=76 for the Rogue Stone which is what this is supposed to be with some modifications. You can do it by hand, like Barrett Christiansen does in this nice video for the Morrish October Caddis http://oregonflyfishingblog.com/2008/09/26/fly-tying-video-morrish-october-caddis/
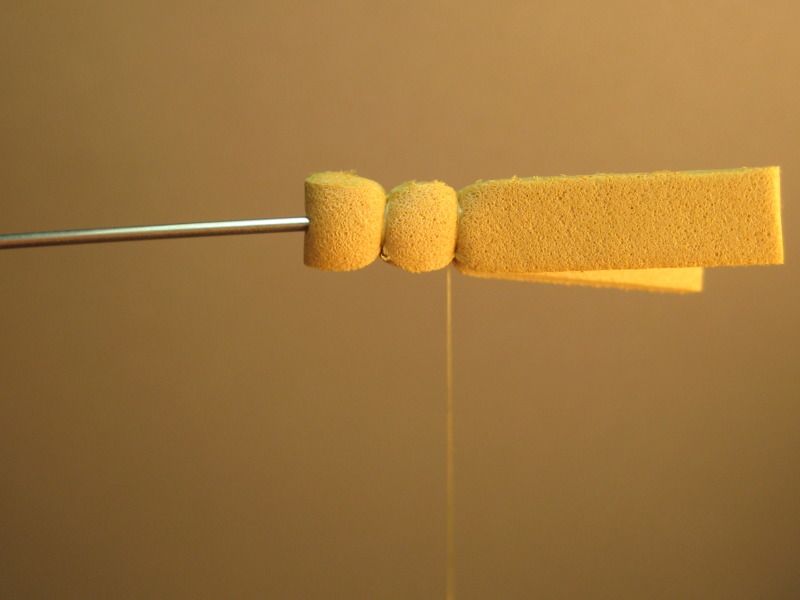
or place a needle in a vise (gives me a chance to break out the old Regal).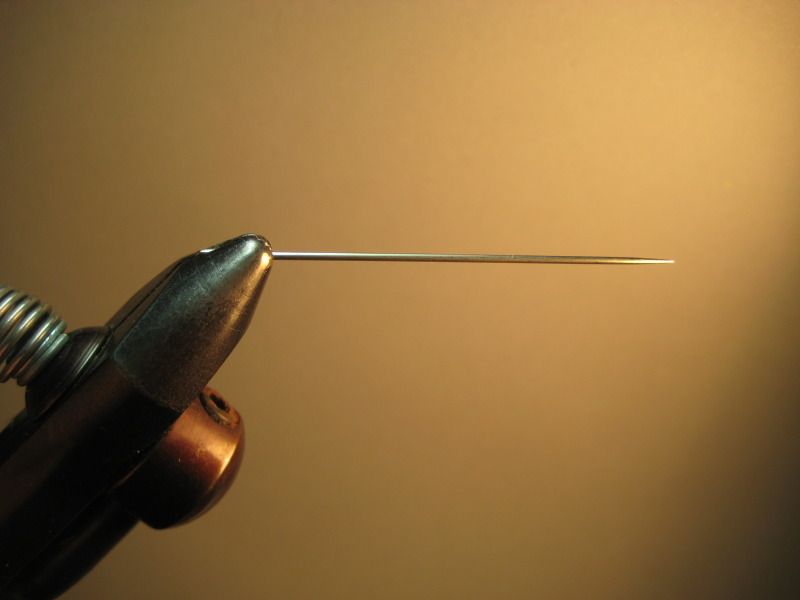
push the foam strip onto the needle and then attach the tying thread (like I said previously, UTC 140 works great)
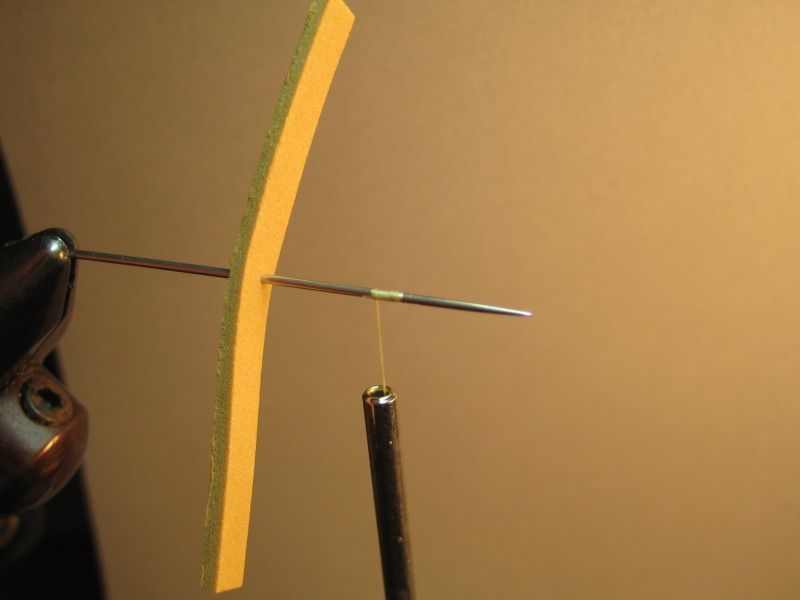
squeeze the foam, and adjust to where you want the first body segment
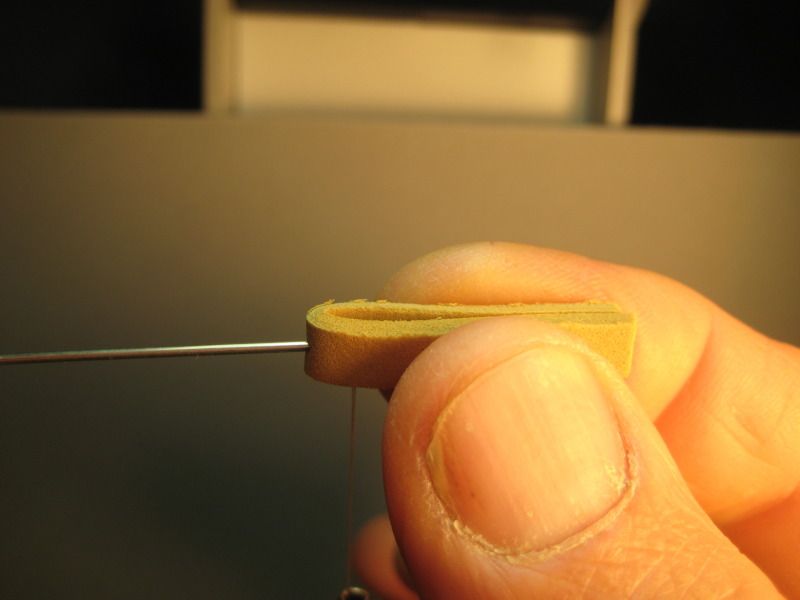
couple fairly firm thread loops around the foam (but not too firm or the thread will cut)
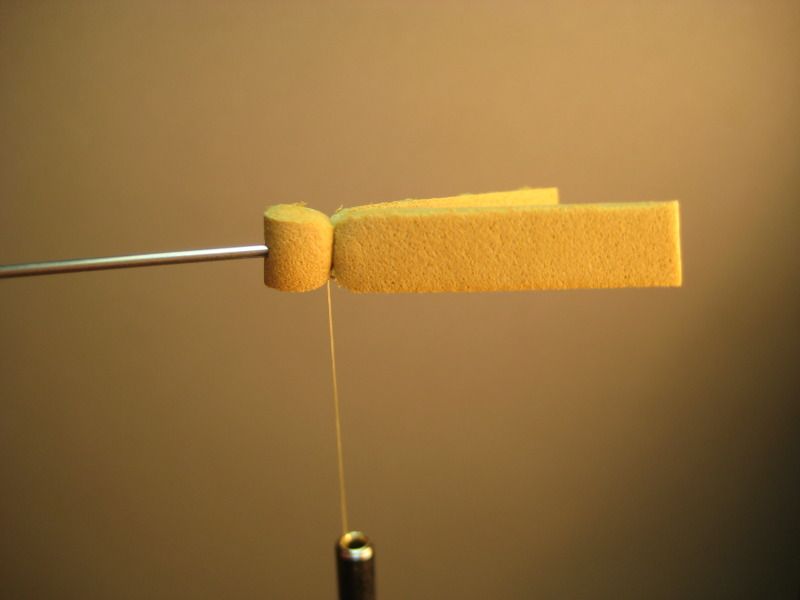
then “split the uprights”, move the thread between the foam “fingers” and up the needle to where you want the next segment
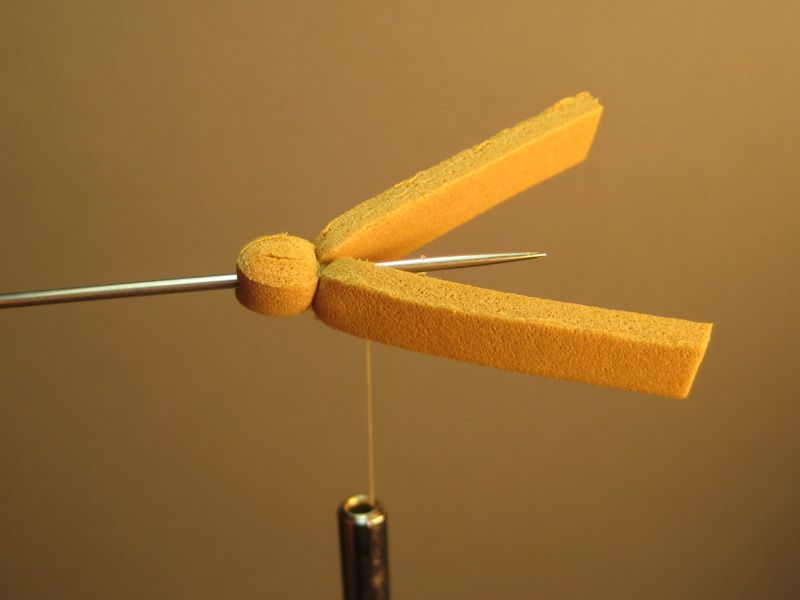
repeat
and again
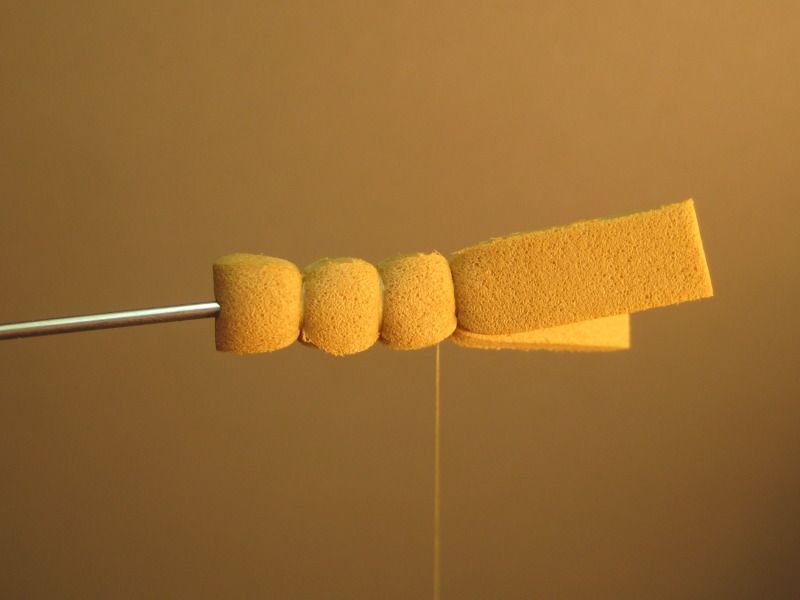
tie off with a couple half-hitches, slide the body off the needle
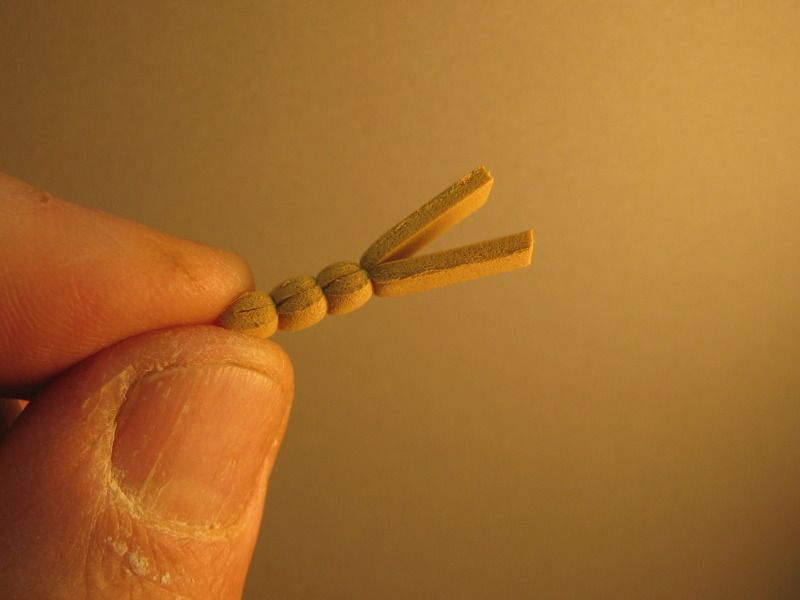
trim the back end and front, brush a little Sally Hansen on the thread wraps and you’re ready to go (excuse the mortar on my fingers, I’m doing this while laying tile in my bathroom)
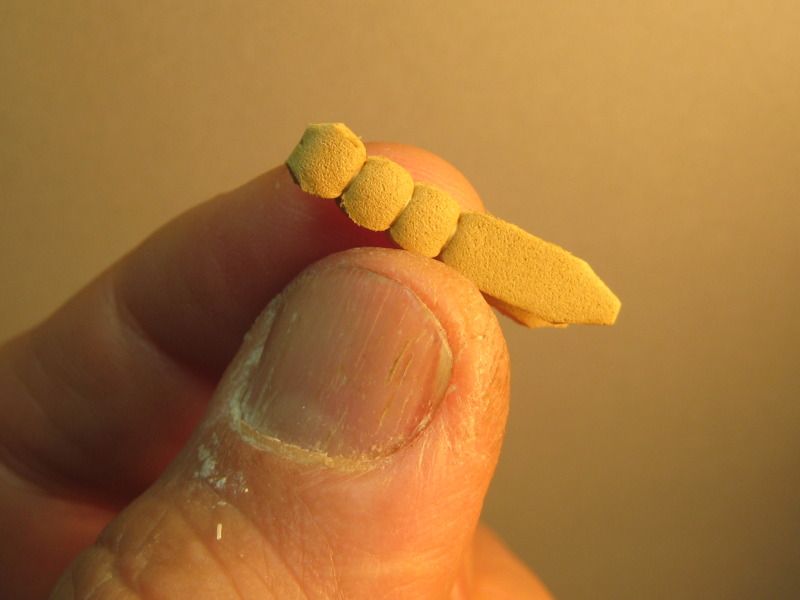
You can go production mode and make a bunch of these bodies ahead of time (no need to carry 2 vises or go back-and-forth between needle and hook in 1 vise).
Regards,
ScottAug 2, 2012 at 8:38 pm #59221 C.B. CrumplerMember
THats awesome scott. well done.
Aug 3, 2012 at 1:41 am #59222Jon Conner
MemberGreat pattern and an excellent SBS, thanks for sharing.
JCAug 3, 2012 at 9:48 pm #59223Casey DeGiovanni
MemberGreat tutorial! Very nice pattern, well done
-
AuthorPosts
- You must be logged in to reply to this topic.